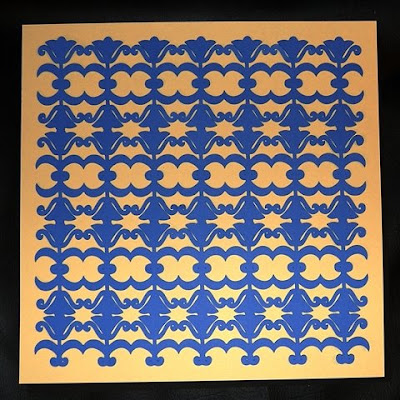
I created this file last year when I got the Storybook cartridge. When I tried to cut it - I made a mess! I think the paper I was using was just too thick and perhaps my settings were off. At any rate - I tossed it aside and that was the end of that!
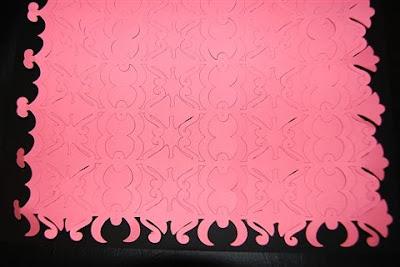
Below you can see a close up of the incomplete cuts - it was not worth trying to punch it all out to complete the cuts.
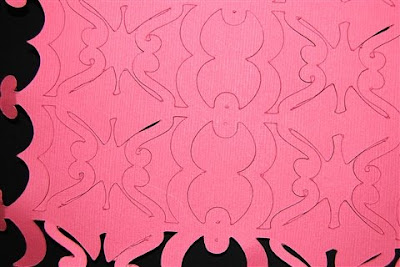
Today, when I was trying to get some tidying up done in my scrap room, I found the sad mesh - and decided to give it another shot.
I think I might use this with some photos from a trip to the Netherlands we made while living in England. One of the stops was at a "restored" fisherman's cottage and there was a lot of Delft tile. I love blue and white and the tulips from the design I repeated for the mesh seem like a good fit.
I cut the mesh again - on slightly thinner cardstock and made sure that the cuts were going through completely. When I was done, I realized that, while most of the mesh lifted easily from the mat, there were two "trouble spots" - one that is just inherent in the design and one that I could fix.
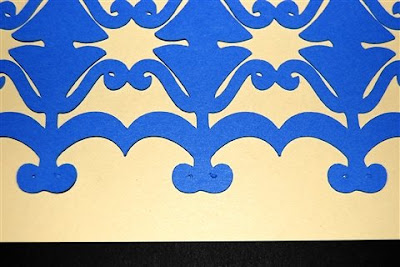
The leaves of the tulip motif curve in such a way that there is a small bit to be removed on one side - the cut is there but it requires some "poking out" since it is so tiny. The other trouble spot was the area at the bottom where I used the little circles to align the images - they turned out more like scratches due to their tiny size.
Since we now have the "hide contour" feature, I could eliminate those pesky little holes - and I did (it took a while to get them all!). To remove the holes, you left click on the exact line of the part you want to hide - it will turn red.

Then you right click somewhere else on the mat and this pop up menu appears - click on "hide selected contour" and it will turn to pale blue (which means it is hidden and will not cut).

I tried another cut, this time using black paper (because the pattern also reminds me of the iron work on a gate).
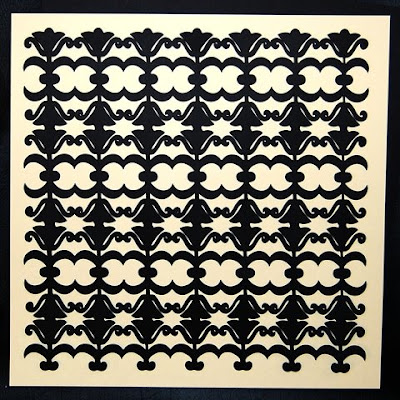
My third cut has no marks on the areas where the holes were and it was much easier to just have the one area to fuss with as I cleaned the cut.

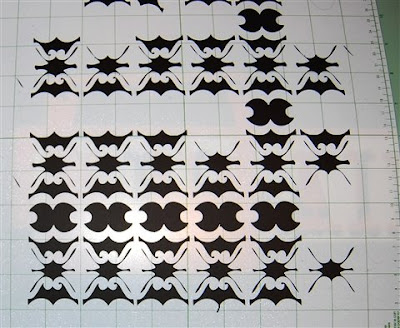
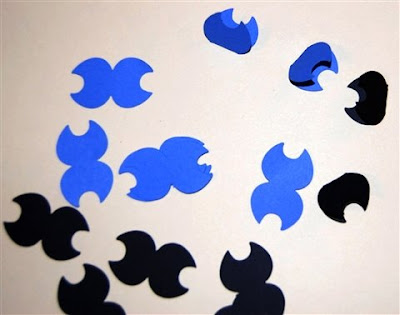
Below you can see the bits that remained on the mat after lifting the cut - I saved the larger rounded ones.
They look like little tabs to me - if you fold them in half they could be attached to a photo mat or card element for a bit of interest.
I may use this mesh as a backdrop for the page, or I may not - I haven't decided yet. Here are the photos I had from the cottage - I think if they are cropped and matted in red or yellow it might look nice - check back in a few days to see if I completed the page(!)
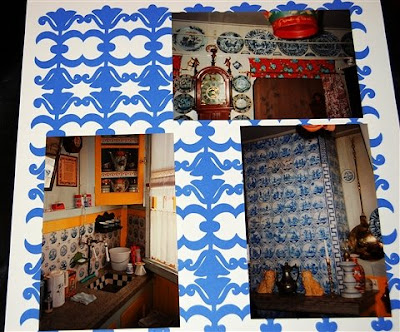
Tulip Mesh

Wow...this is so gorgeous! Thanks for sharing!
ReplyDeleteI wondered how this new feature worked. Thanks for the info. I'll give it a try. I love your blog please keep posting. And Thanks!!
ReplyDeletevery elegant...Diane the picture above the one of the pieces you saved...I see a beautiful ornate butterfly in the leftovers...if one could only use those pieces!!! TFS
ReplyDeleteThis was exactly what I needed help with! Thank you for explaining the hide contour feature, for the life of me I couldn't figure out why I couldn't click on some parts to hide and others wouldn't. Thank you so much!!
ReplyDeleteThis mat is just soooo elegant - thank you !
ReplyDeleteI can also see the butterfly, and agree it would be lovely put together somehow !!
Thank you for another great design and cut file!!
ReplyDeleteThanks for sharing this. I didn't even know there was a "Hide Contour" feature! And your design is just beautiful!
ReplyDeletemarie t
Diane--
ReplyDeleteAnother gorgeous design. Hey--I noticed that sometimes when I use the hidden contour feature, save that project, and then come back to use it again, that the hidden contours will sometimes not be hidden anymore. I've actually had some of them (like on the first 4-5 pages of a project) unhide themselves and then the ones on the last 2-3 pages of the project remain hidden like I'd "programmed". I see that you didn't seem to have that problem. Any words of wisdom? Have you even had that problem, or is this all just mumbo jumbo :) ??
I tend to do multi-page projects, & I have noticed that this provides for many technical issues....
Thanks again for sharing such beautiful, detailed work.
--Gracie at EverythingCricut.blogspot.com
Diane, I love this. It reminds me of some curtains that hung in my Oma's home. You put a lot of work in this for sure. Thank you so much for sharing!
ReplyDelete