
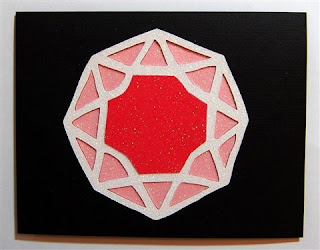
I was looking through the designs on the Happily Ever After cartridge, thinking of doing another Disney character, when I spotted this faceted gem cut and my mind started turning. I had just cut a title from glitter cardstock (DCWV stack) and had been using my Stickles glitter glue - I guess I had glitter on my mind! I thought that this would be fun to do in two or more colors....so I tried it!
I set the cut up on Design Studio - this is not technically necessary since I used the design exactly as it appears on the cartridge. I just like to use the software so I know exactly where to place my paper and also how large a piece of paper I need for the cut.I set up a red and a pink piece of cardstock to cut in opposite corners.
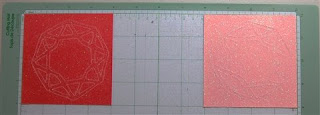
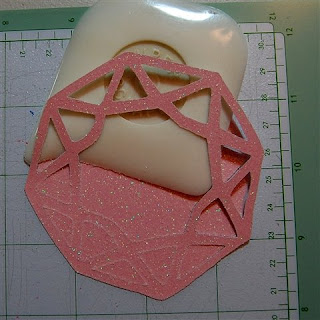
Here is how the red one looked right after cutting - I used the multi cut feature and cut three times - blade depth 6, pressure at 4 and speed at 1. This glitter cardstock creates a lot of "dust"
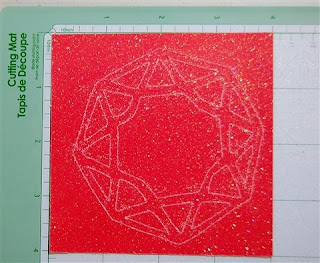
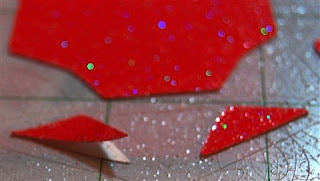
You may be able to see the dust more clearly in this close up photo after the outer piece of cardstock was removed
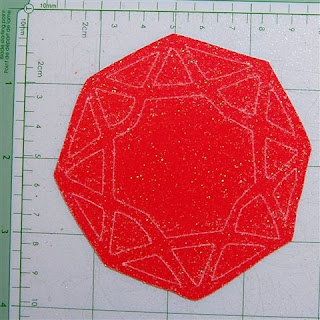
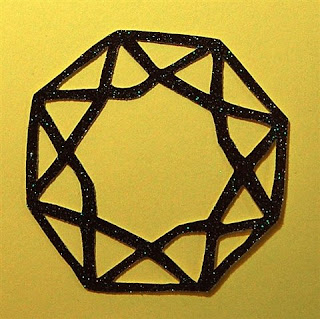
I carefully removed the outer frame using my handy scraper
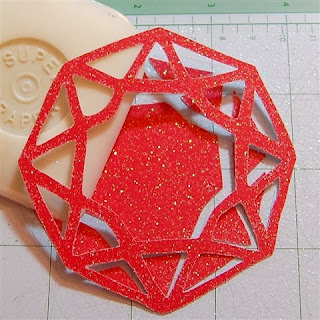
The goal is to lift up only the frame, leaving all of the other small pieces on the mat.
When you have removed the frames, flip them over and mark the top as I did here - this step will save you a bit of time later. (The "T" shows at the bottom of the flipped frames).

I then used my Creative Memories Precision Point adhesive and adhered these frames to black notecards.
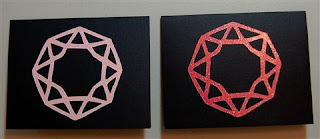
When using this adhesive you should dot it on and then wait for it to turn from white to clear - it will then stick down very nicely with no oozing of glue. Once these frames were stuck down, I dotted glue in the openings of the frame

I then followed the rotation of the smaller bits and inserted them into the frame of the opposite color. By leaving the small pieces on the mat it was very easy to work my way around the circle and fill in with the correct piece (they fit perfectly with a smooth finish once they are set in).
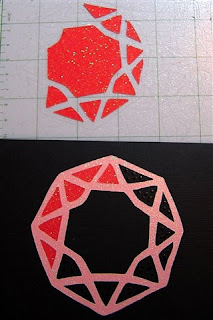
Here is how they looked when I finished with that step
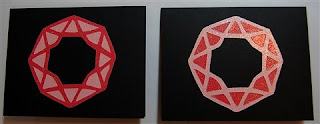
Finally, I added in the centers (but did not glue them yet - I was starting to think of more variations!)
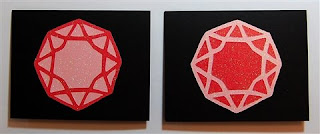
I decided to cut an additional set of frames in white and red again so I could do some experimenting.
Here are the two cards with a white center substituted for the pink or red one
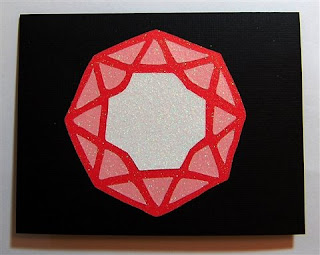
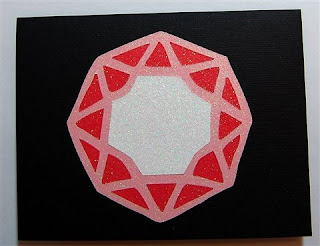
Then I started playing with all of the various combinations - I still have not finished these cards - I am debating on which version is my favorite! Here are just a few of the possibilities...
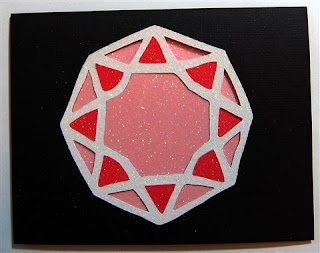
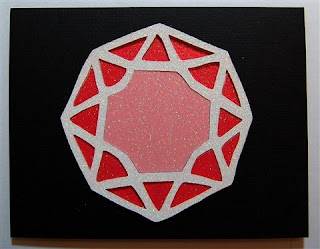

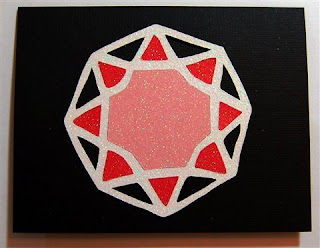
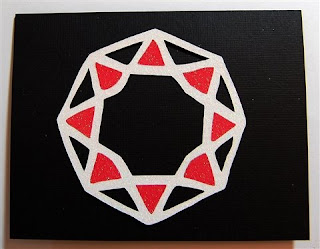
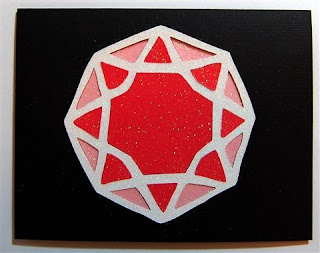
Be careful when you remove these triangular pieces from the mat - this cardstock tends to separate into layers and to avoid having to glue it back together you should use a gentle touch to peel it off the mat!
It will be fun to try this in other color combinations - I think I will next try to use the "brown" version that came in the glitter mat stack!
Now - maybe I can get back to choosing another Disney character to layer!

No comments:
Post a Comment
Thanks for taking the time to leave a comment. I love to hear from the people who read my blog. I moderate all comments to keep spam off the blog without making you decode the squiggly letters so your comment may not appear immediately.