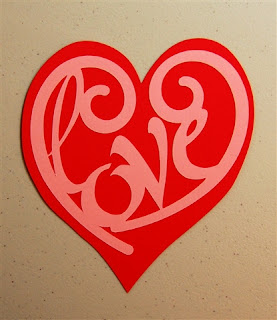
First I want to say that the "love in a heart" design above was created by "Carrie" and I got the file from the Cricut Softcuts Blog (be sure to check this out - see the link in the right column). I don't know her last name but want to be sure to give her credit for it! I loved the design and wanted to use it for a Valentine's Day project but I needed a shadow for it. The open heart is from Accent Essentials and does not have a blackout type shadow so I designed one by skewing and tweaking a George heart. Carrie's original design and the blackout background file are available here.
Love in a Heart - Shadowed
I did four shadows on page two and the original design is on page one - since we can't group and copy the elements of the designs with the current version of the software, I just cut one at a time and then rotated and restuck my paper to the mat to have an uncut area in the correct position for the next cut.
But back to the reason I started this post...
I don't like to see a delicate cut that looks messy because the design is not completely stuck down or the adhesive oozes out to the front of the design. I have found that the best solution for sticking down small cuts is the Creative Memories Precision Point Adhesive pen. I like the control you have with a pen style applicator. I believe there are other similar pens on the market but I have not tested them (as a CM consultant I got one of these when they first came out, loved it and didn't need to research any other types!)
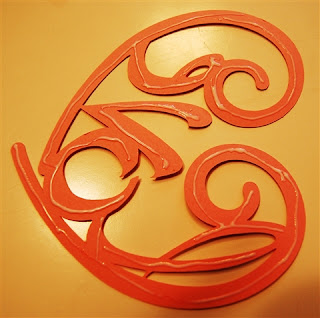
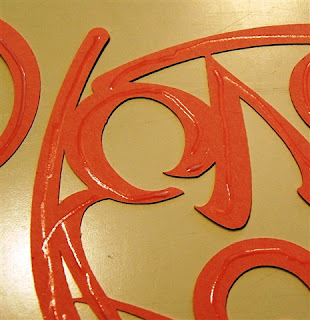
When using this type of adhesive I have found that it is important to apply a small amount on every line of the design. When the adhesive goes on it is a milky white color. It is very important to let the cut "rest" with the adhesive on it until the adhesive turns shiny and clear. Then, and only then, you can turn it over and apply to your page or card with no risk of goopy adhesive appearing on your work.
Here is how it looks when you first apply the adhesive

Here is how it looks when it is ready to stick to your project

I know this was a bit of a digression from posting my files but I thought it might be helpful - especially for anyone using a cut like my cakestand borders!

Diane, I am currently using a Zig glue pen, which works pretty well for delicate cuts, but I like the look of this Creative Memories pen. Wanted to tell you about a little tool that I find indispensable: a glue eraser. I picked it up somewhere a while back.
ReplyDeleteIt looks to be just a pencil-shaped tube of rubber...anyway, it works on all kinds of glue, and won't damage the paper. Just let the glue dry, and rub it away.